How to Install a Professional Copier Step by Step
Installing a professional copier may seem simple, but several steps are essential to guarantee optimal operation. Whether the installation is handled by the supplier or you do it yourself, here’s everything you need to know.
Before delivery: preparation
Choose the ideal location
The location of your copier influences its performance and durability.
Criteria for a good location:
- Accessible space: minimum 50cm clearance on all sides for ventilation and consumable access
- Stable floor: copiers can weigh over 100kg; avoid carpets
- Controlled temperature: 15-30°C, avoid heat sources (radiators, windows facing south)
- Moderate humidity: 30-70%, avoid humid areas
- Close to users: minimise trips while maintaining acoustic comfort
Avoid:
- Windows (UV, temperature variations)
- Direct proximity to radiators
- Passages with draughts
- Humid areas (kitchens, toilets)
Prepare electricity
- Dedicated socket: if possible, avoid multi-sockets
- Grounding: essential to avoid static discharge
- Adequate power: check machine requirements (generally 10-15A)
- Surge protector: recommended for sensitive equipment
Plan network connection
- Ethernet cable available: check cable routing
- Wi-Fi option: signal strength at the location
- IP address: reserve an address in your IP plan
- Network outlet: prefer wired connection for reliability
Installation day
Equipment reception
Check at delivery:
- Machine conforming to order (model, options)
- No visible damage (impacts, scratches)
- All accessories present (cables, manuals, consumables)
- Documentation complete
Important: Sign the delivery note only after verification. Note any anomaly.
Unpacking and positioning
- Carefully remove packaging
- Remove transport protections (foam, adhesive tape, plastic bags inside)
- Position the machine at its final location
- Adjust adjustable feet to stabilise
Consumables installation
- Unpack toner cartridges
- Shake gently according to manufacturer’s instructions
- Insert in correct slots (follow colour markings)
- Unpack and install drum (if separate)
- Load paper in trays
Network configuration
Wired connection (recommended)
- Connect Ethernet cable to machine
- Connect the other end to switch or router
- On the machine:
- Go to Network Settings
- Enable DHCP (automatic) or configure fixed IP
- Note the assigned IP address
Wi-Fi connection
- On the machine, access Wi-Fi settings
- Scan available networks
- Select your network
- Enter Wi-Fi password
- Wait for connection
Verification
- Print a network configuration page
- Note the IP address
- Test by pinging from a computer
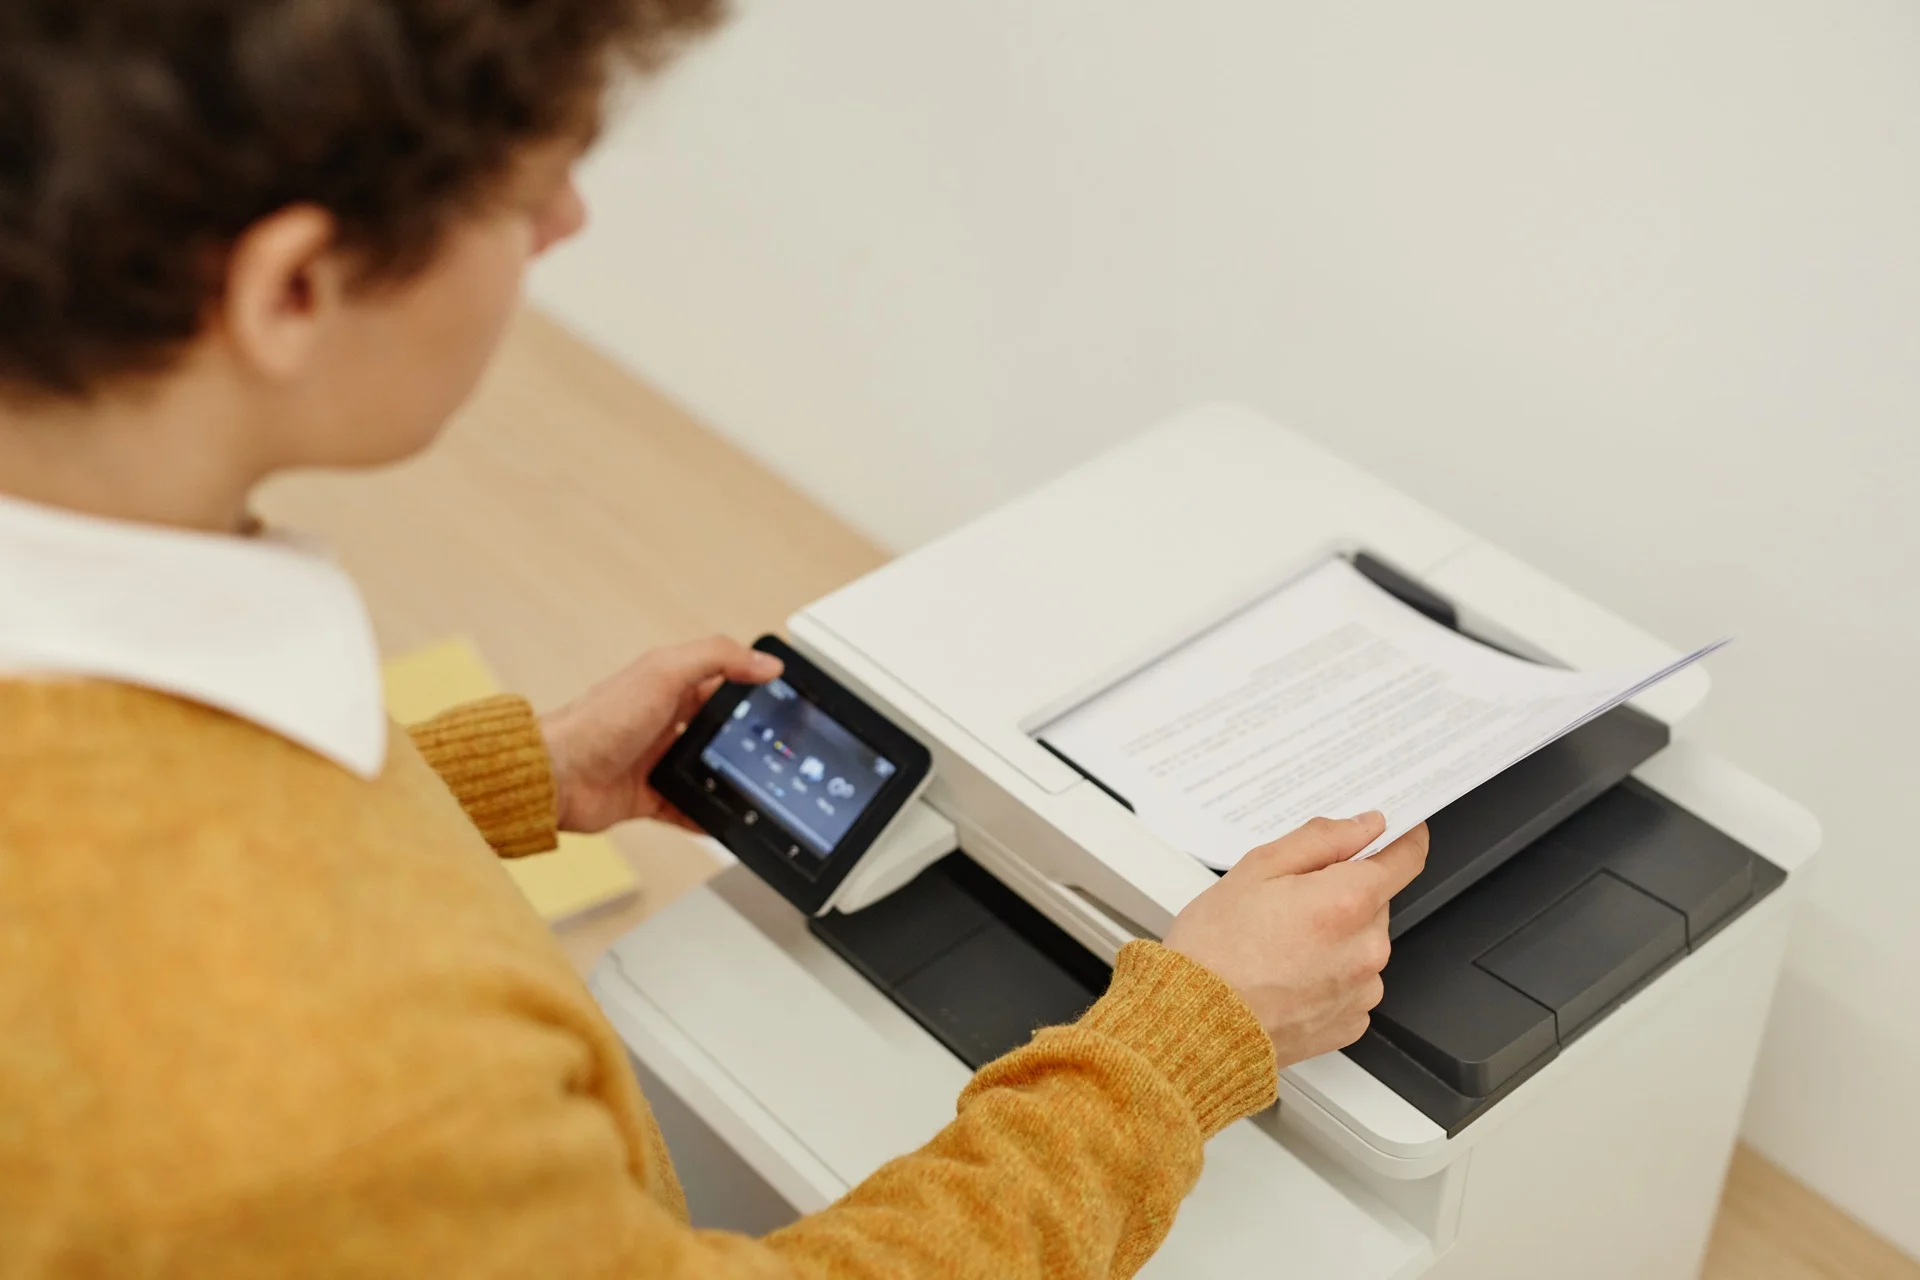
Driver installation
On Windows
Automatic method:
- Go to Settings > Printers
- “Add a printer”
- Windows should detect the machine
- Install automatically
Manual method:
- Download drivers from manufacturer website
- Run the installer
- Follow instructions
- Select network connection
- Enter the copier’s IP address
On macOS
- System Preferences > Printers & Scanners
- Click ”+”
- Select the machine from the list (or add by IP)
- macOS will download the appropriate driver
On network
For centralised deployment:
- Install the print server (if applicable)
- Configure the print queue
- Deploy via GPO (Windows)
First tests
Print quality
Print a test page and check:
- Sharp black text
- Even colours (if colour)
- No streaks or marks
- Correct alignment
Scanning
- Scan to email works
- Scan to folder works
- Acceptable quality
Copy
- Fluid copy
- Correct quality
Finishing (if applicable)
- Functional stapling
- Correct perforation
- Correct duplex printing
Initial configuration
Security settings
- Change default administrator password
- Configure user authentication (if required)
- Enable hard drive encryption
- Configure automatic data deletion
Notifications
- Email alerts for toner low
- Paper empty notification
- Breakdown alerts to IT
User preferences
- Black & white default (to save colour)
- Duplex default (to save paper)
- Appropriate default paper tray
- Address book configured
Finishing touches
User training
Even for a simple machine:
- Show basic functions
- Explain default settings
- Indicate who to contact in case of problems
- Distribute quick start guide
Documentation
Keep accessible:
- User manual
- Configuration IP address
- Supplier contact
- Contract/warranty number
Schedule maintenance
With the supplier:
- Planned preventive maintenance date
- Technical support contact
- Consumables delivery procedure
Common problems and solutions
Machine not detected on network
- Check Ethernet cable properly connected
- Verify IP address
- Check firewall doesn’t block traffic
- Restart machine and router
Poor print quality
- Run cleaning cycle
- Check consumables properly installed
- Verify appropriate paper
- Print calibration page
Paper jam at first use
- Check transport protections completely removed
- Verify paper correctly loaded
- Check paper guides adjusted
- Avoid mixing paper types
In summary
A successful installation includes:
- Careful preparation: suitable location, electricity, network
- Rigorous reception: complete verification before signing
- Correct network configuration: wired connection preferred
- Driver installation: on all workstations
- Complete tests: print, scan, copy, finishing
- Optimal configuration: security, default settings, alerts
- User training: for everyday autonomy
If you’ve chosen leasing or rental, installation is generally handled by the supplier’s technician.
Need a professional copier?
Get free personalised quotes from qualified suppliers in Belgium. Response within 24h, no obligation.