How to PROPERLY Use a Professional Printer Scanner?
Discover how to PROPERLY use a professional printer-scanner optimally is essential to benefit from all the features offered by these multifunction devices. In this guide, we’ll explore the different steps to master document scanning and printing with this high-performing equipment.
Today we dive into the world of professional printer-scanners, where each click reveals a panoply of possibilities! Most models are technological gems offering an unparalleled user experience. In just a few moments, select the ideal format for your document and prepare to be amazed by the scan quality. Don’t forget to explore the Windows / Mac settings to refine your preferences and fully benefit from the button dedicated to scanning. Ready? Then follow us on this adventure full of exciting discoveries!
Step 1: Preparing the Printer and Scanner Before Use
To fully enjoy the printing and scanning functions of multifunction printers, it’s essential to prepare them correctly. First, verify that the device is properly connected to the computer on which documents will be processed. Next, ensure the driver corresponding to your printer model (for example, Canon) is installed on your computer, whether it’s a Windows PC or a Mac. Don’t forget to select the appropriate paper format for your prints and scans.
It’s also important to verify that ink cartridge levels are sufficient to guarantee quality printing. Generally, professional printers offer the possibility of using colour or black and white ink according to your needs. Also ensure the paper tray is correctly supplied so as not to interrupt the printing or scanning process.
Step 2: Scanning and Printing Documents with a Professional Printer-Scanner
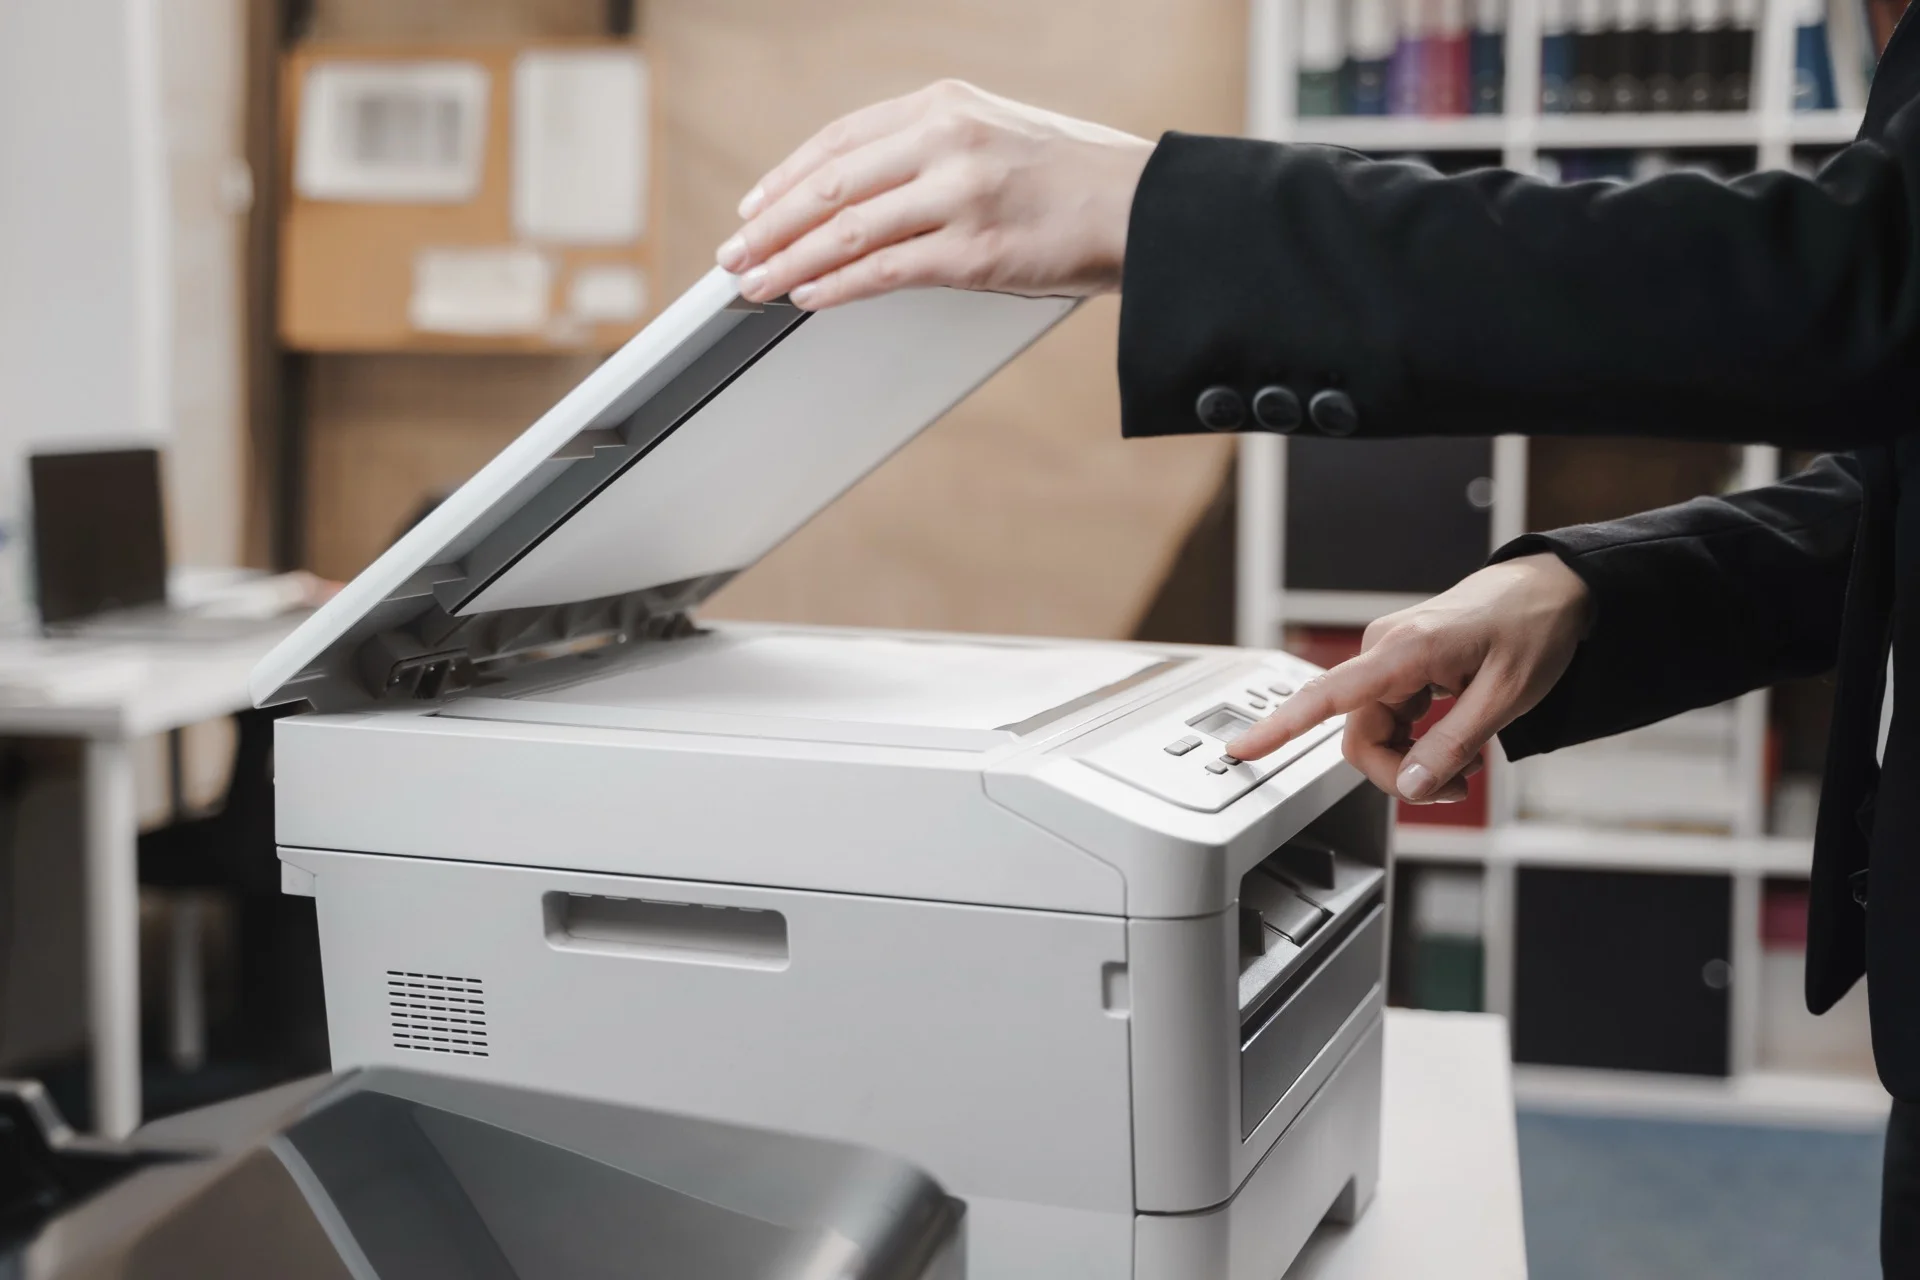
Once your printer is ready for use, it’s time to learn how to scan and print documents. To scan a document, place it face down on the scanner glass and close the cover. Use your computer’s interface to launch scanning by clicking the Scan or Digitise button. You can choose to save your scanned document in different formats, such as PDF or JPEG. Don’t hesitate to explore advanced options to adjust resolution and scan quality.
To print a document, open it on your computer and select Print from the File menu. Choose the multifunction printer from the list of available printers and adjust print settings according to your preferences (colour, black and white, double-sided, etc.). Then click Print to launch your page printing. Ensure you retrieve your printed documents from the printer’s output tray.
-
Prepare the printer and scanner before use
-
Install the driver adapted to your printer model
-
Check ink levels and paper tray
-
Use the computer interface to scan and print
-
Explore advanced options to customise your prints and scans
Optimising Print and Scan Quality
In the world of professional printing, it’s essential to guarantee the best possible quality for printed and scanned documents. To do this, certain parameters need adjusting according to the specific needs of the work. For example, in the case of colour printing, it’s recommended to select Colour mode in print options to ensure colours come out as faithfully as possible on paper. Similarly, for scanning, you should choose the file format adapted (PDF, JPEG, etc.) according to the document requirements to be scanned.
On the other hand, it’s vital to regularly ensure the proper functioning of multifunction printers and the quality of ink used. Poor quality inks can indeed cause printing problems and damage the printer long-term. To avoid this type of inconvenience, it’s preferable to opt for ink cartridges from recognised brands such as Canon, which offers a wide range of cartridges compatible with various professional printer models.
Scanning Multiple Pages into a Single File
It can be useful to scan multiple pages of a paper document into a single digital file, to facilitate document management and archiving. To do this, simply select the Scan Multiple Pages option in scan settings and follow on-screen instructions. Once pages are scanned, you just need to save them on the computer, ensuring all pages have been correctly scanned.
Using Advanced Features of Scanning and Printing Software
Some software provides advanced features to improve print and scan quality and facilitate document management. For example, under Windows, it’s possible to use the Scan software provided with the operating system to access advanced options such as colour management, image retouching, or scan resolution.
Tips for Mastering Professional Printer-Scanner Use
In summary, to fully master the use of a professional printer-scanner, it’s essential to know not only its basic operation but also the advanced settings and features offered by the various software generally accompanying this type of equipment. By taking time to explore these options and adjust them according to each job’s specific needs, it’s possible to guarantee optimal quality for prints and scans performed. So don’t hesitate any longer and embark on the adventure of professional printing with confidence and serenity!
Need a Professional Photocopier?
Get free personalised quotes from qualified suppliers in Belgium. Response within 24 hours, no obligation.