How to Send Scans by Email via a Professional Printer?
Sending scanned documents by email has become a common practice in the professional world. Thanks to technological advances, modern printers no longer just print documents; they also offer scanning and direct email sending functionalities. This ability to scan and send documents in a single gesture considerably simplifies workflow, especially in environments where speed and efficiency are paramount.
Companies can thus reduce time spent managing physical documents and improve their productivity. Professional printers, often equipped with advanced features, allow not only scanning documents but also sending them directly to one or more recipients by email. This eliminates the need for a computer to perform this task, making the process smoother and more accessible.
Summary
- Sending scans by email via a professional printer is a simple and effective process for sharing important documents.
- Configuring the printer for sending scans by email requires access to email settings and entering connection information.
- Scanning the document to send by email is done by placing the document on the scanner glass or in the automatic document feeder.
- Selecting the recipient and writing the email is done directly on the printer screen, using the touch keyboard or an external keyboard.
- Sending the scan by email via the professional printer is done by pressing the send button, after verifying scan quality and security settings.
Configuring the Printer for Sending Scans by Email
The first step to send scans by email via a professional printer is to correctly configure the device. This generally involves accessing the printer’s configuration panel, often accessible via an integrated touchscreen. Configuration requires connecting the printer to a Wi-Fi or Ethernet network, which allows the device to access the Internet and send emails.
Once the connection is established, it is essential to configure SMTP (Simple Mail Transfer Protocol) settings, which are necessary for sending emails. To do this, you need to enter your email service provider’s SMTP server information. This includes the server address, the port used (generally 587 for a secure connection), as well as identification information such as the email account username and password.
Some printers also offer the possibility of using third-party email services, which can simplify the process if you don’t want to use a specific professional account. Once these settings are configured, it is recommended to test the connection to ensure the printer can send emails without problems.
Scanning the Document to Send by Email
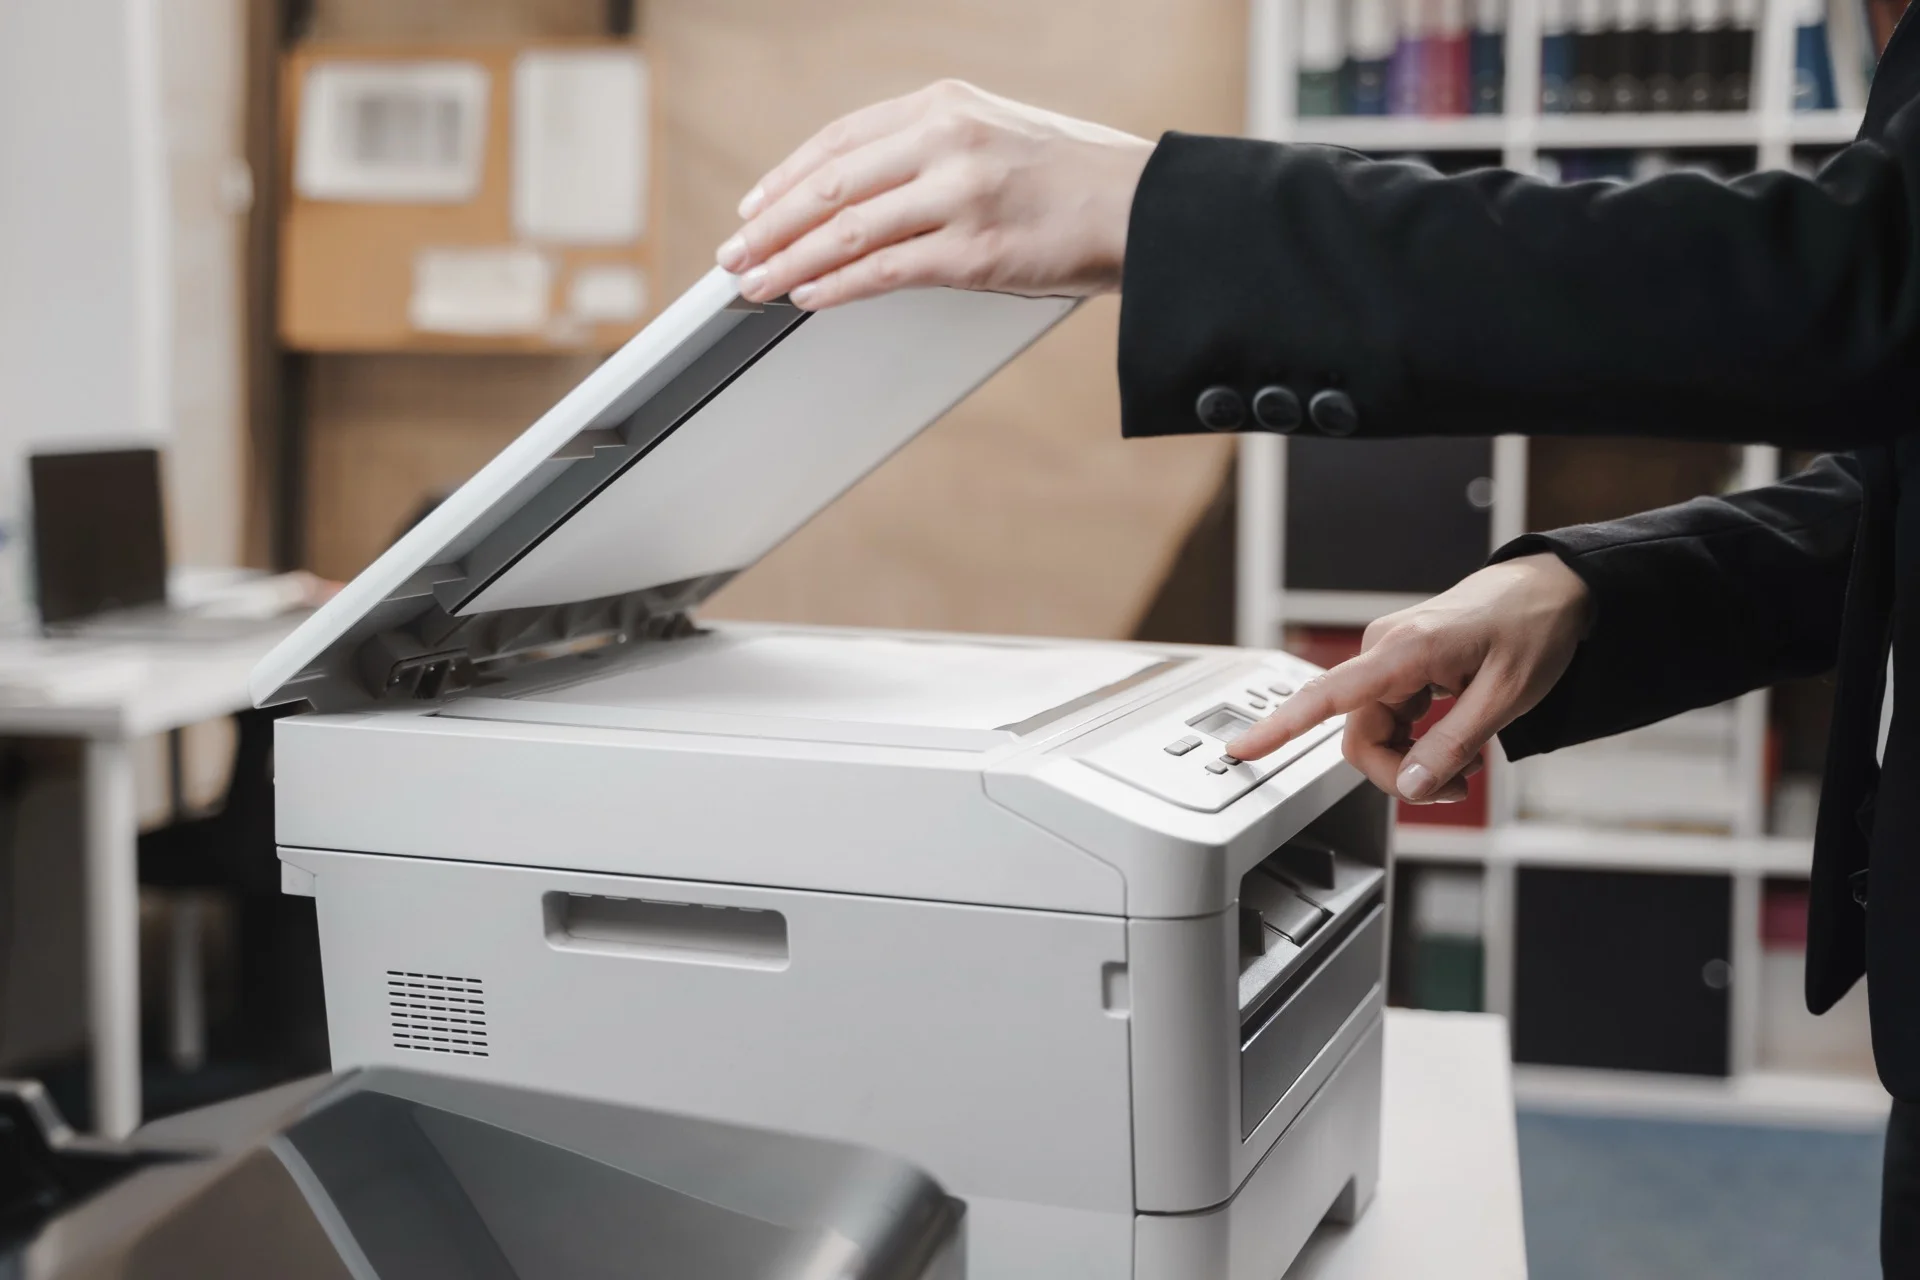
Once the printer is configured for sending scans by email, the next step is to scan the document you wish to send. Most professional printers are equipped with an automatic document feeder (ADF) that allows scanning multiple pages in a single operation. To begin, simply place the document in the ADF or on the scanner glass, depending on the type of scanning desired.
Before launching the scan, it is important to select the appropriate settings. This includes choosing the file format (PDF, JPEG, TIFF, etc.), resolution (generally measured in DPI - dots per inch) and possibly options such as colour or black and white scanning. Higher resolution may be necessary for documents containing images or detailed graphics, while standard resolution may suffice for simple text documents.
Selecting the Recipient and Writing the Email
After scanning the document, the next step is to select the recipient and write the email. Most professional printers allow entering the recipient’s email address directly via the touchscreen. Some printers can also be configured with pre-registered contacts, which further facilitates the sending process.
It is crucial to verify the email address accuracy to avoid any erroneous sending. Regarding writing the email, some printers offer the possibility of adding a personalised message. This can be particularly useful for providing context to the recipient about the sent document.
Sending the Scan by Email via the Professional Printer
Sending the scan by email is generally a simple and quick operation thanks to the integrated functionalities of professional printers. After verifying that all information is correct and the document is ready, simply press the “Send” or “OK” button on the printer’s touchscreen. The printer will then connect to the previously configured SMTP server and transmit the scanned document to the recipient.
It is important to note that some printers display a notification or message indicating that sending was successful. This can be reassuring, especially if you are sending an important document.
Verifying Scan Quality Before Sending
Before sending a scan by email, it is essential to verify the quality of the scanned document. Poor image quality can harm content readability and give an unprofessional impression to the recipient. To do this, it is recommended to examine the document on the preview screen offered by the printer after scanning.
If the scan quality is not satisfactory, it may be necessary to adjust scanning settings or even redo the scanning.
Managing Security Settings for Sending Scans by Email
Security is a crucial aspect when sending sensitive documents by email. Modern professional printers often integrate advanced features to ensure data security during the sending process. It is essential to activate these settings to protect the information contained in scanned documents.
This may include using a secure connection (SSL/TLS) when transmitting data to the SMTP server. Additionally, some printers allow using additional authentication protocols to ensure only authorised users can access email sending functionalities.
Need a Professional Copier?
Get free personalised quotes from qualified suppliers in Belgium. Response within 24 hours, no obligation.